Performing a Soundcheck
Step-by-step instructions for creating a StageIt soundcheck.Check your browser compatibility
Due to the end of life for Adobe Flash, StageIt has built a new in-browser broadcaster utilizing the latest WebRTC technology, to provide our artists with an easy solution to broadcast directly from your web browser.
As WebRTC features, capabilities and support vary across different browser makers, here are a few notes on browser compatibility:
- We recommend using the Chrome browser for your broadcast
- Firefox is not currently supported by our video servers. We are working hard on a solution that will allow you to stream from Firefox.
- Safari is currently experiencing issues with supporting WebRTC. We will update this section once Apple fixes this issue.
1.
Sign in to your StageIt account.
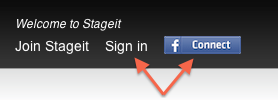
If you do not have a StageIt account, you can create one by clicking "Join StageIt."
2.
Create your Soundcheck.
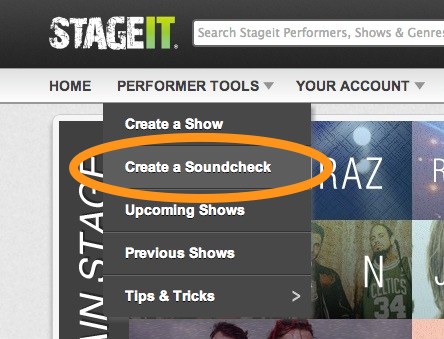
Open "Performer Tools" at the top of any page, and click "Create a Soundcheck."
3.
Save your soundcheck show.

Soundcheck shows aren't available to the public, so don't worry about the show details just yet.
4.
Click "Go To Stage."
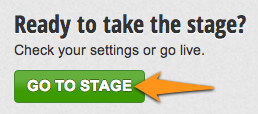
- If you are creating this immediately before your scheduled soundcheck, click "Go To Stage" on the following page.
- If you are creating this for a later time, you can find the "Go To Stage" link under the "Performer Tools" menu and click "Upcoming Shows."
5.
Click "GO LIVE."
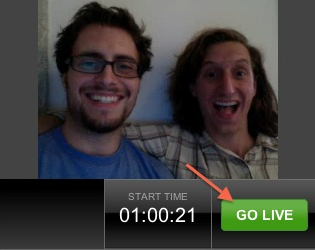
- You will then be broadcasting live in your soundcheck! You can share the soundcheck URL (available at the bottom of the stage) with your manager, bandmates or whoever else is going to be helping you out. Note that the person watching your soundcheck will need to be logged in to a different account than the one you are broadcasting from.
- Note: Once you have soundchecked, your settings will be saved for your future shows. However, if you change to another web browser or device, you will have to select these settings again.
Advanced: Using External Streaming Source
These instructions only apply to those who wish to use external streaming software such as OBS.
1.
When creating your Soundcheck, opt to use an external streaming source.

- Scroll down to "Advanced Broadcasting," and check the box next to "Use external streaming source (such as OBS, Wirecast or Tricaster)"
- Click the "Save" button at the bottom of the page.
- If you do not already have external streaming software installed, visit obsproject.com to download OBS.
2.
After creating your Soundcheck, click "Go To Stage" to continue.
This will take you to a special page for performers using an external streaming source.
3.
Add your streaming information into OBS.
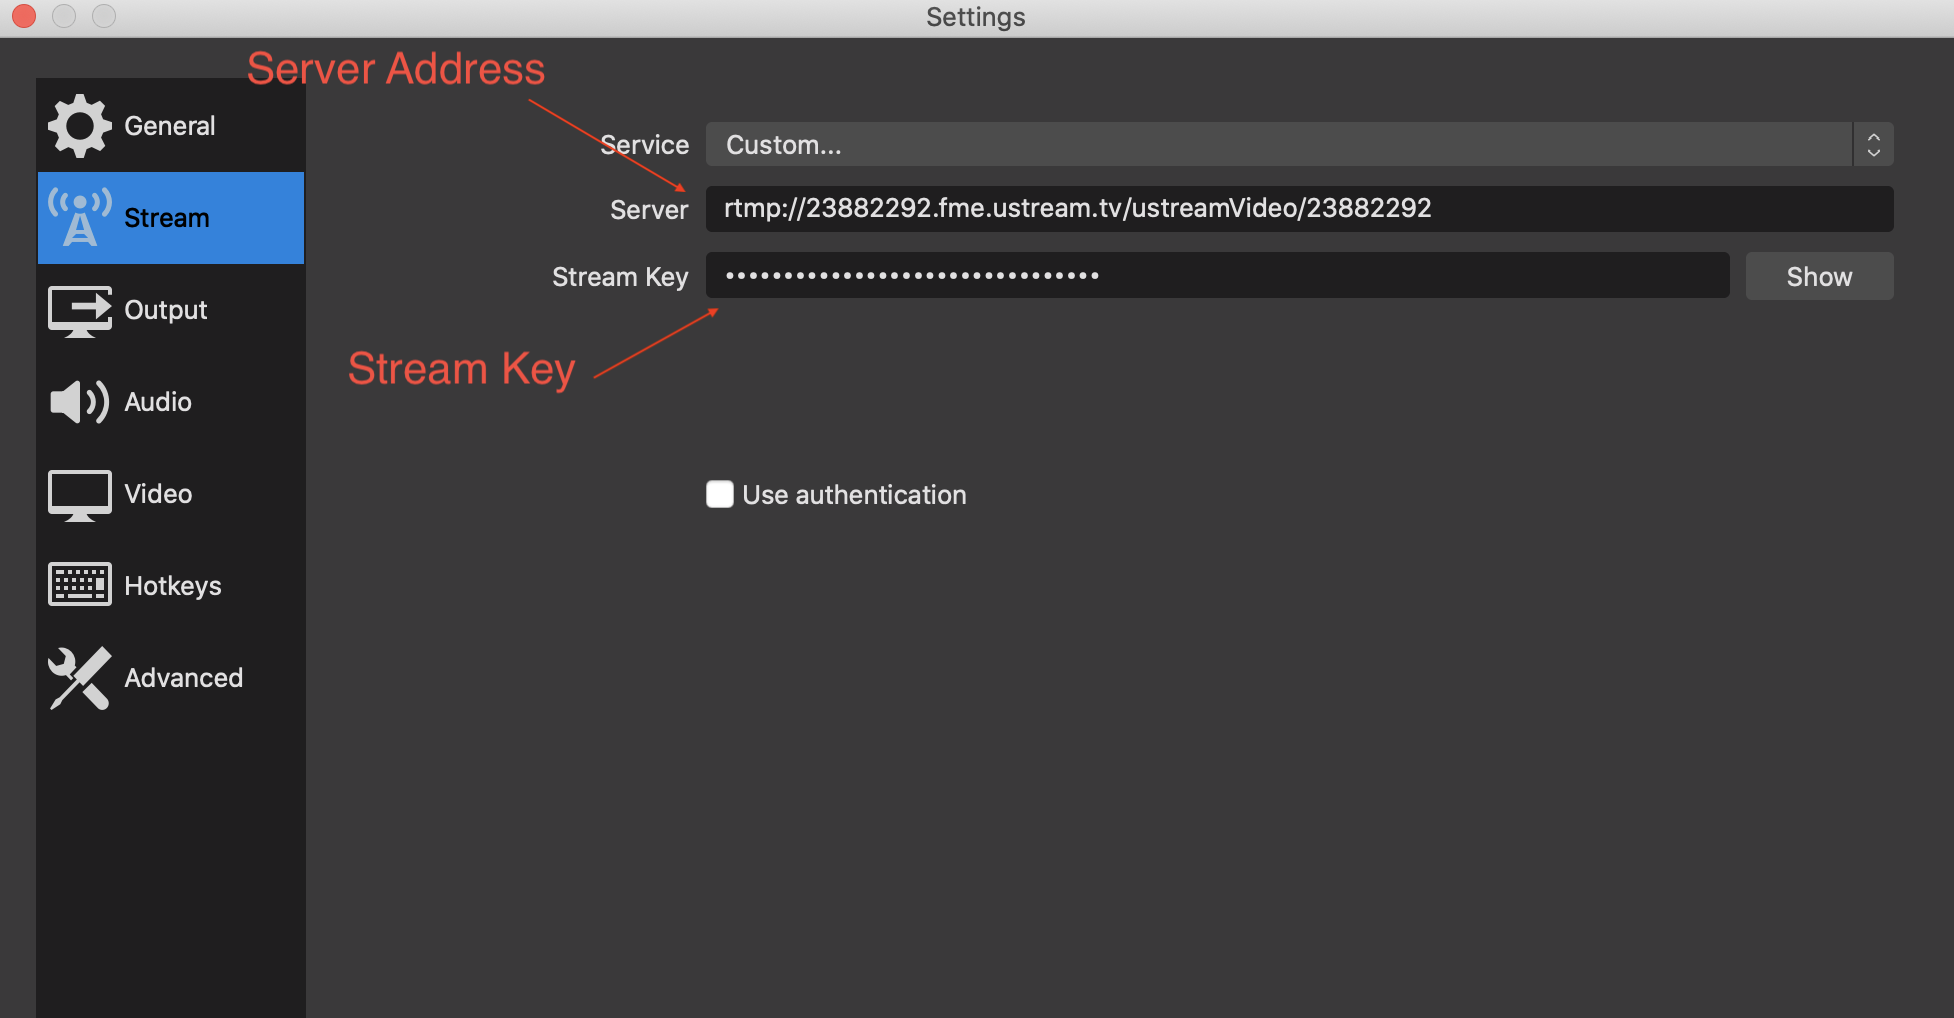
- Open OBS and go to "Settings" > "Stream"
- Under "Service" select "Custom"
- Copy the "Server Address" and paste it into the "Server" field.
- Copy the "Stream Key" and paste it into the "Stream Key" field.
- Click the "Go To Stage" button on the StageIt page to access your soundcheck stage.
4.
Add your audio and video sources to OBS.
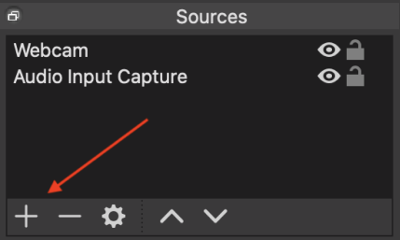
- In OBS, go to "Sources" in the bottom left and click the "+" icon. From there you will be able to select audio and video sources to add to your scene.
- Note: You can also edit the default mic/aux audio input to be the audio source you would like to use.
5.
GO LIVE!
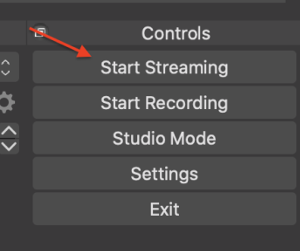
- To go live you will have to hit the “Start Streaming” button on OBS as well as hitting the “Go Live” button on StageIt.
- Important: Make sure that both OBS and StageIt are "Live" otherwise you will not be broadcasting!
- When you are done performing, MAKE SURE TO PRESS THE STOP STREAMING BUTTON IN OBS.
- Note: The person watching your soundcheck will need to be logged in to a different StageIt account than the one you are broadcasting from in order to view the soundcheck.